Welcome!
I created my moon lights for less than $30 in parts. This is just a quick pictorial guide, so if you have any specific questions regarding your project, ask them here!
PARTS:
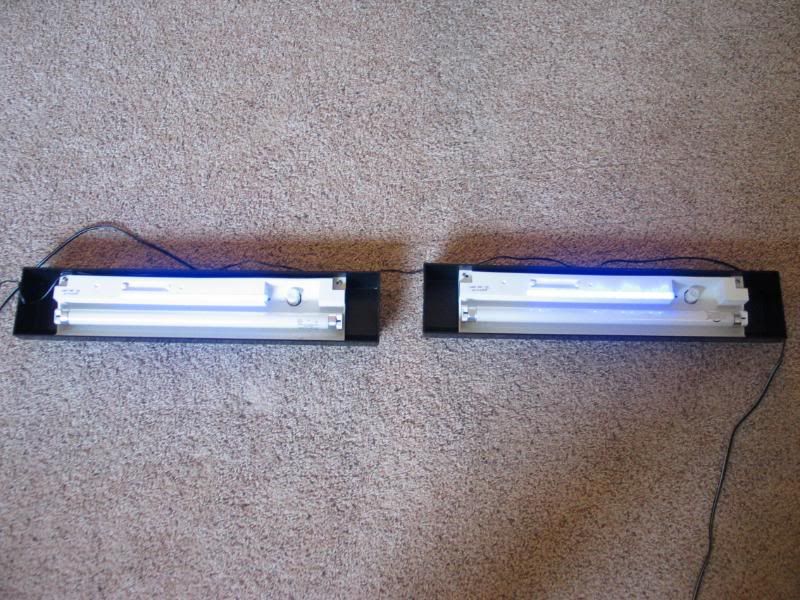
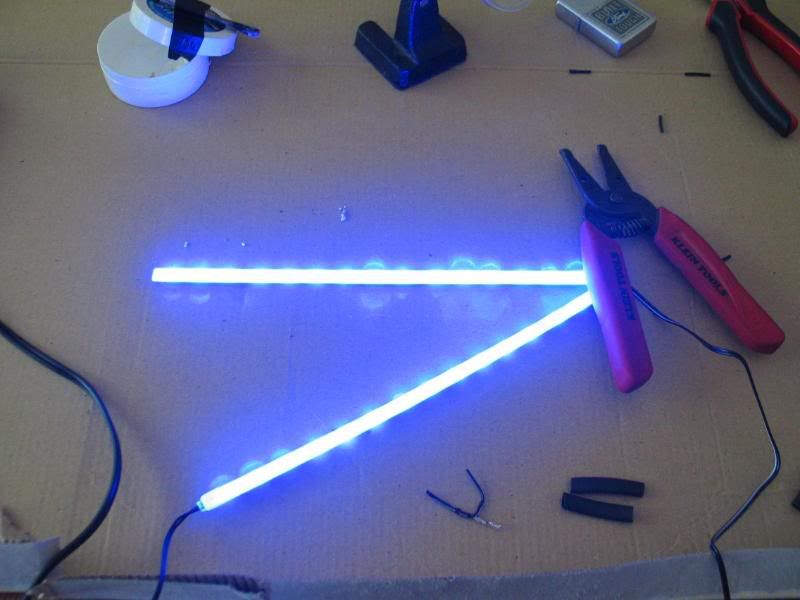
I went to Advance Auto Parts and bought a set of 12 volt, 9" long blue LED Strip lights.
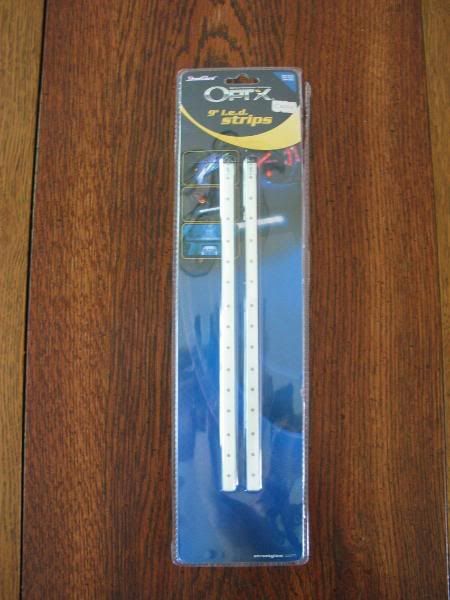
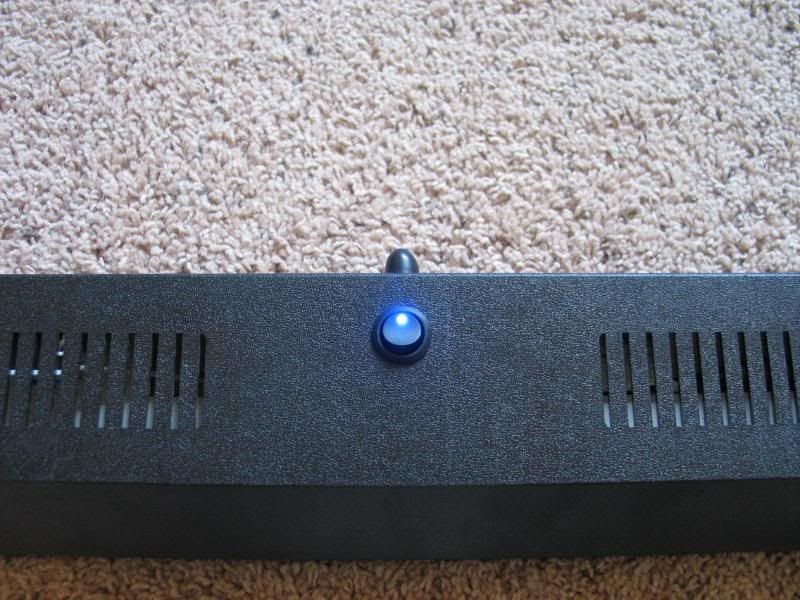
I also grabbed a small flush-mount rocker switch, for a total of $27.40
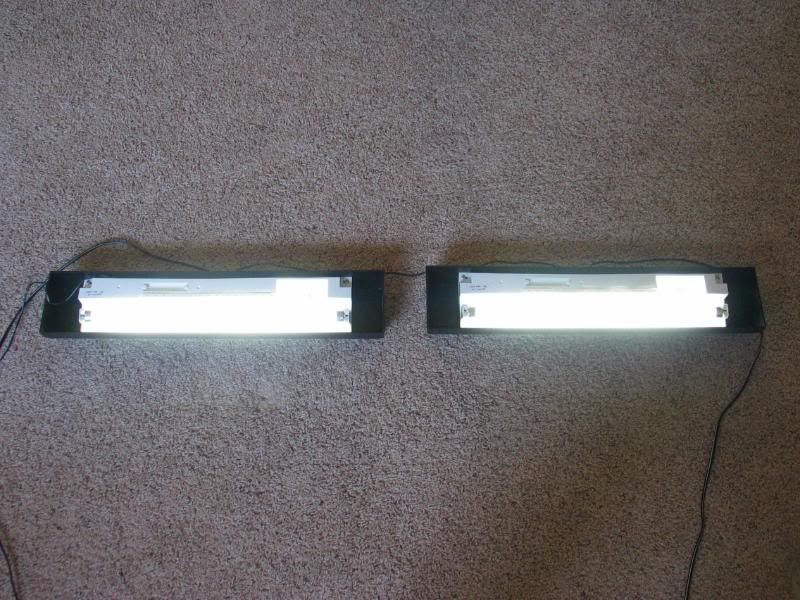
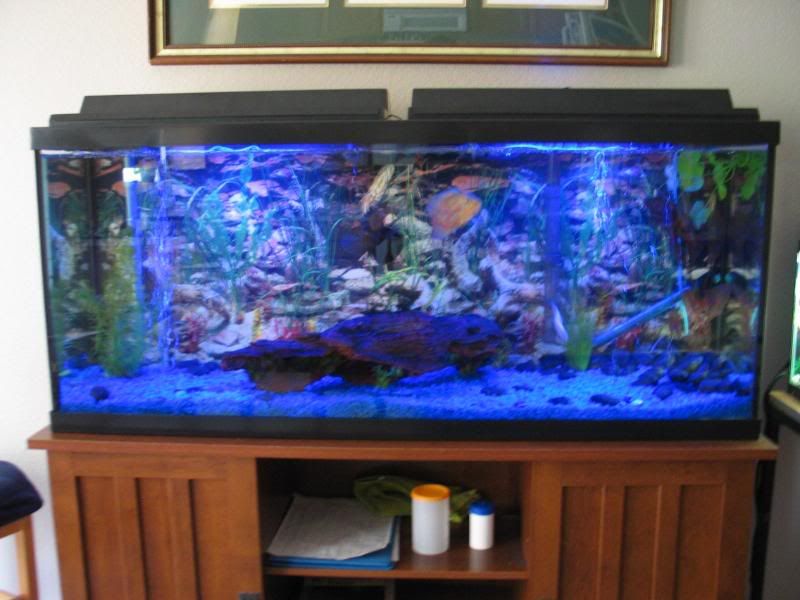
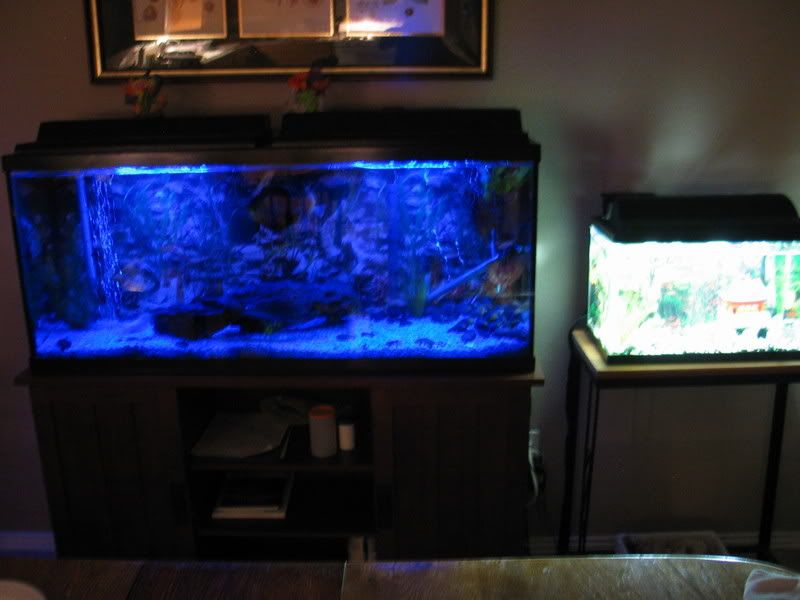
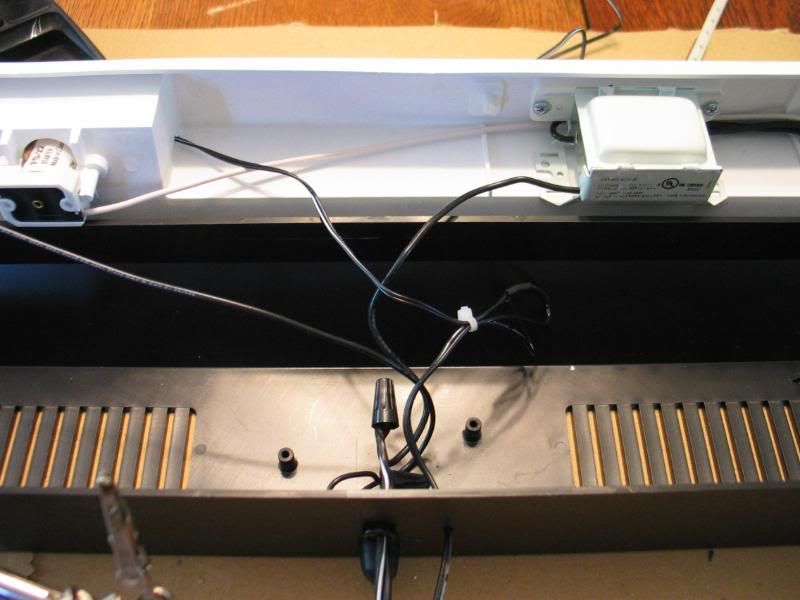
As you can see, this project can be incorporated into many different sizes of light hoods.
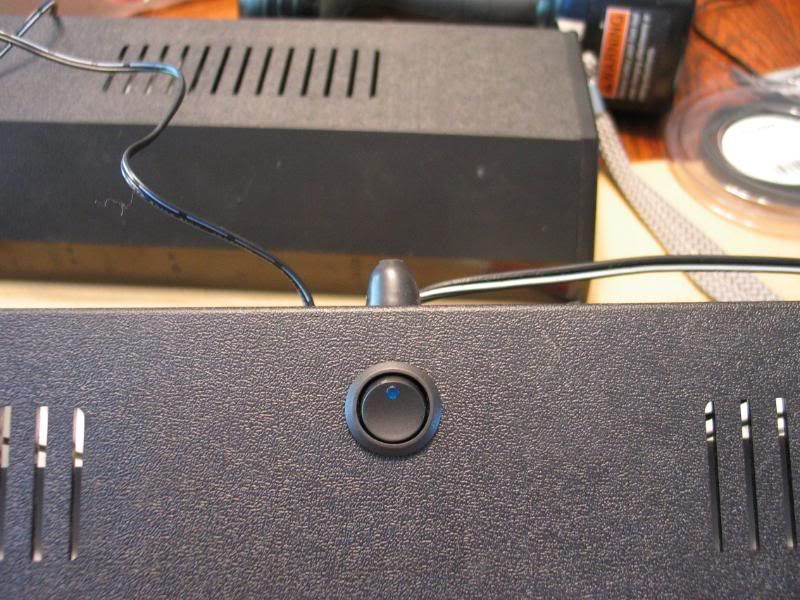
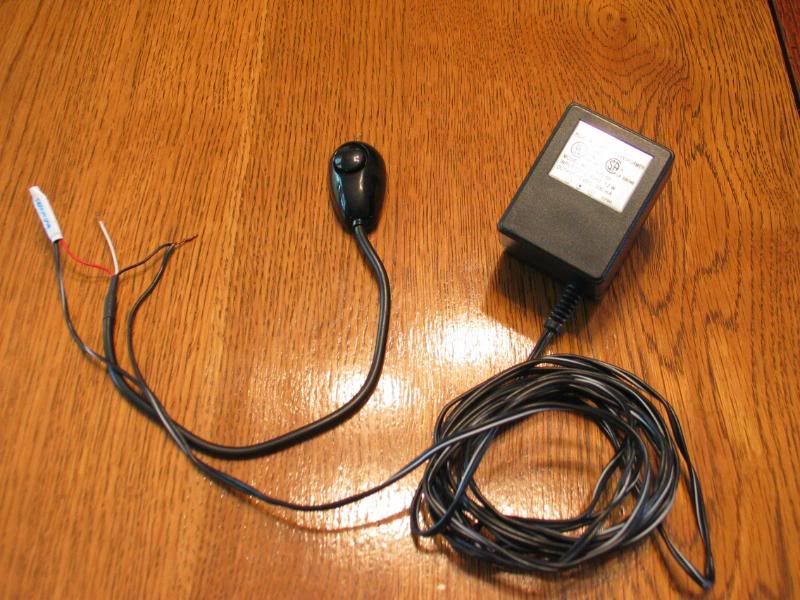
A spare 12volt 500mah rectifier ("transformer") supplies power. If you don't have a "spare" one laying around, you can buy one from Radio Shack or most electrical parts stores. The switch shown was used for testing purposes only.
Most rectifiers use the striped wire as the positive one, but always check polarity.
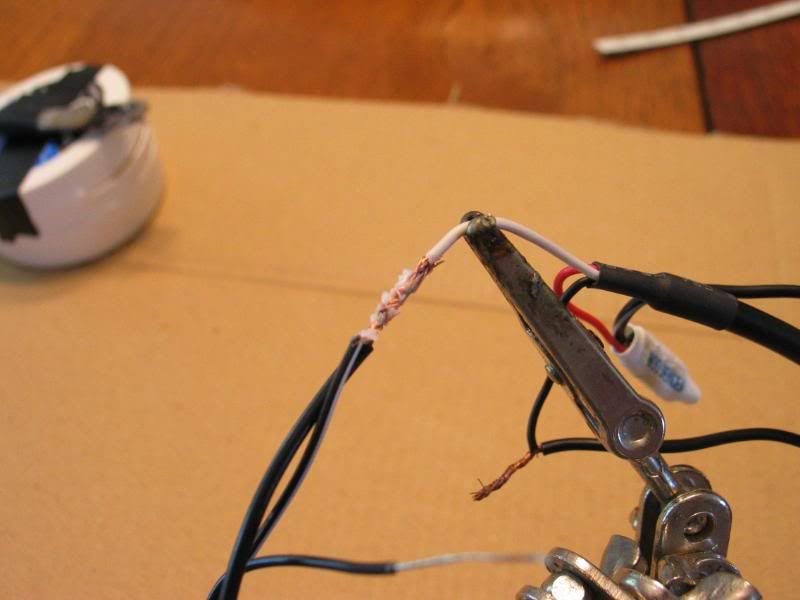
I wired everything using crimp connectors initially, then I removed them all and properly soldered every electrical connection.
Use FLUX to clean a solder joint. It can be brushed on, but don't use too much.
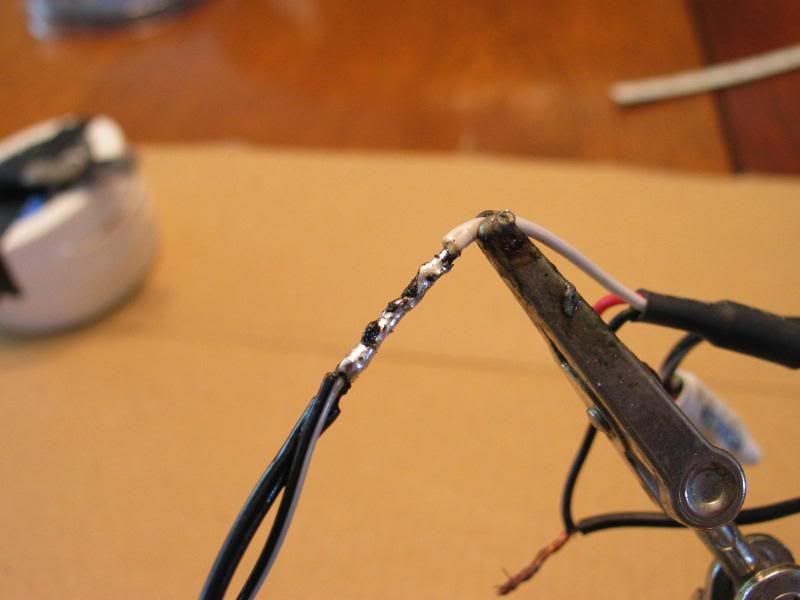
A GOOD SOLDER JOINT IS SHINY AND SMOOTH. A BAD ("Cold") SOLDER JOINT IS DULL AND ROUGH. ALWAYS make sure you have a good solder joint before you seal it with heat-shrink or tape.
This image also shows slight amounts of melted insulation from the wires. This is typical in a good, HOT solder joint.
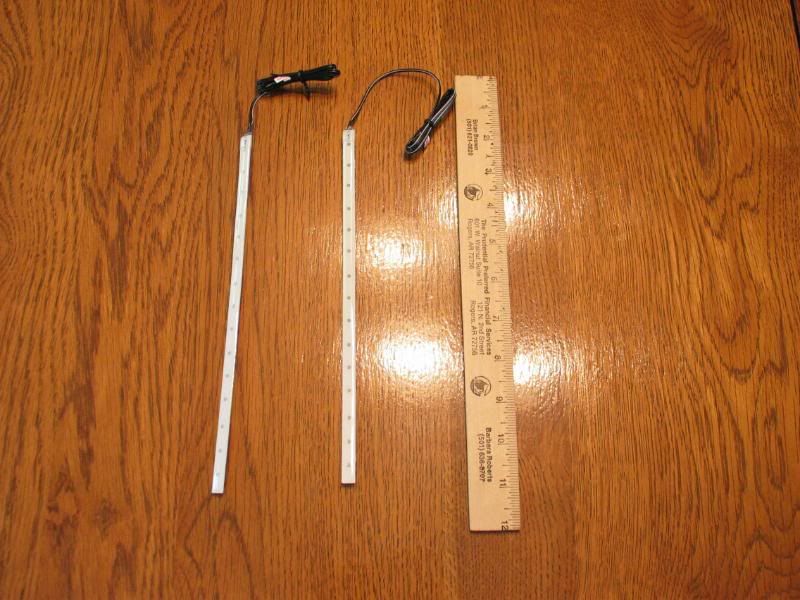
Here is a preliminary test using a pair of wire strippers to compare the size:
After you drill holes to run the wires through, make sure you secure it with a zip-tie or other device, so the wire can't be pulled out of the back of the light hood. Notice in this picture that the factory that manufactured this light hood used simple wire nuts instead of solder and heat-shrink.
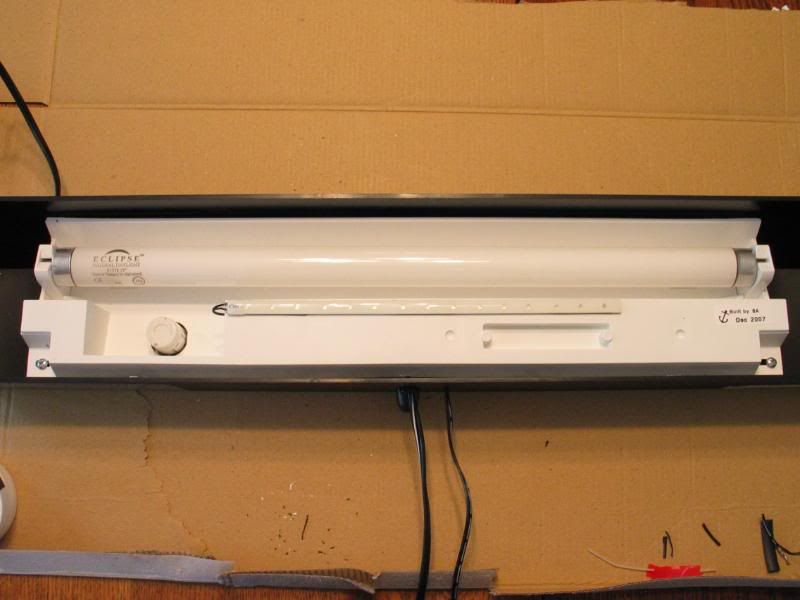
Here is the completed installation of the first light. Notice how the wire at the end of the light tucks up into a hole so that only a small amount of wire is shown. Also, there is a small hole in the back of the light fixture for the wire to come out of.
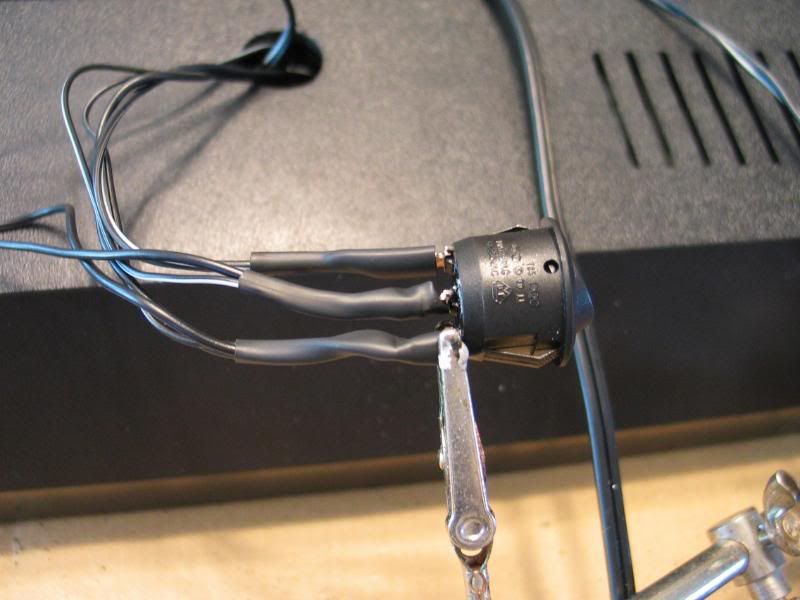
Attach your wires to the switch and flux the joints. Then, solder them thoroughly while paying special attention to the switch to make sure you don't melt the plastic or bend the tabs. I used a "Third Hand" to assist me in all of these steps.

Make sure to heat-shrink ALL of your solder joints as well.
I created my moon lights for less than $30 in parts. This is just a quick pictorial guide, so if you have any specific questions regarding your project, ask them here!
PARTS:
I went to Advance Auto Parts and bought a set of 12 volt, 9" long blue LED Strip lights.
I also grabbed a small flush-mount rocker switch, for a total of $27.40
As you can see, this project can be incorporated into many different sizes of light hoods.
A spare 12volt 500mah rectifier ("transformer") supplies power. If you don't have a "spare" one laying around, you can buy one from Radio Shack or most electrical parts stores. The switch shown was used for testing purposes only.
Most rectifiers use the striped wire as the positive one, but always check polarity.
I wired everything using crimp connectors initially, then I removed them all and properly soldered every electrical connection.
Use FLUX to clean a solder joint. It can be brushed on, but don't use too much.
A GOOD SOLDER JOINT IS SHINY AND SMOOTH. A BAD ("Cold") SOLDER JOINT IS DULL AND ROUGH. ALWAYS make sure you have a good solder joint before you seal it with heat-shrink or tape.
This image also shows slight amounts of melted insulation from the wires. This is typical in a good, HOT solder joint.
Here is a preliminary test using a pair of wire strippers to compare the size:
After you drill holes to run the wires through, make sure you secure it with a zip-tie or other device, so the wire can't be pulled out of the back of the light hood. Notice in this picture that the factory that manufactured this light hood used simple wire nuts instead of solder and heat-shrink.
Here is the completed installation of the first light. Notice how the wire at the end of the light tucks up into a hole so that only a small amount of wire is shown. Also, there is a small hole in the back of the light fixture for the wire to come out of.
Attach your wires to the switch and flux the joints. Then, solder them thoroughly while paying special attention to the switch to make sure you don't melt the plastic or bend the tabs. I used a "Third Hand" to assist me in all of these steps.
Make sure to heat-shrink ALL of your solder joints as well.
Last edited: