DIY Tank Stand Plans

Mahamotorworks

Superstar Fish
Aug 26, 2006
1,722
6
0
Thule, Greenland
www.myspace.com
#41
Update 3 Nov 2006

Here is the update.
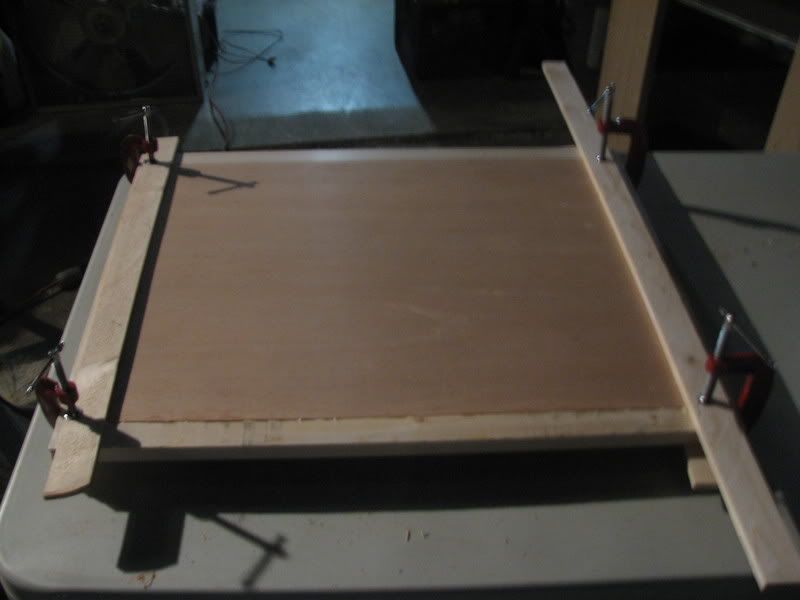
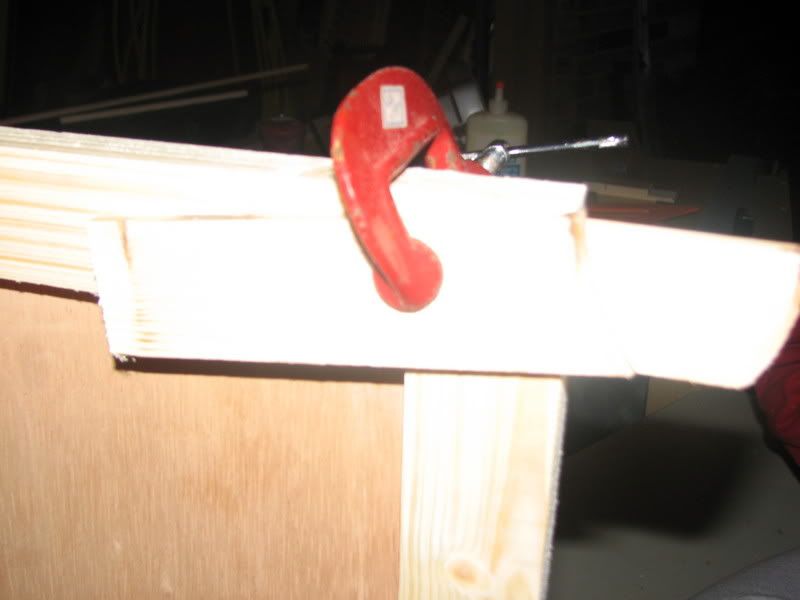
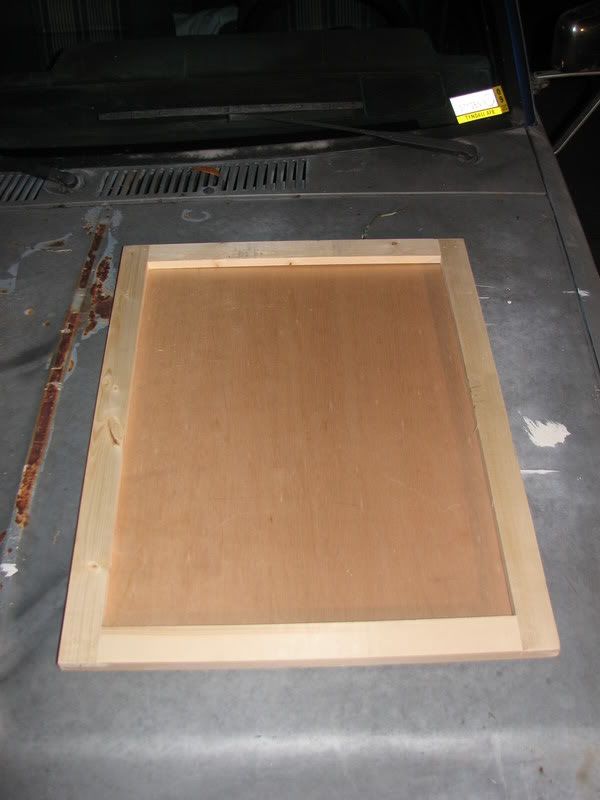
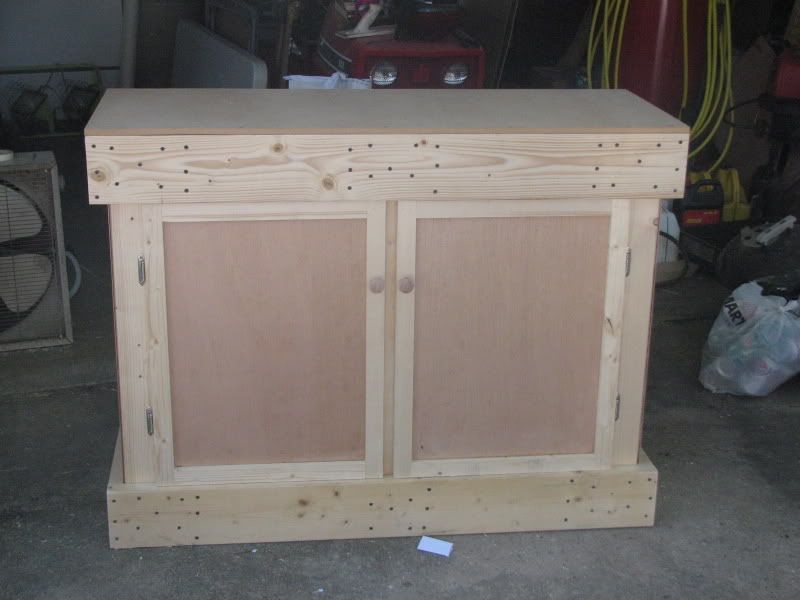
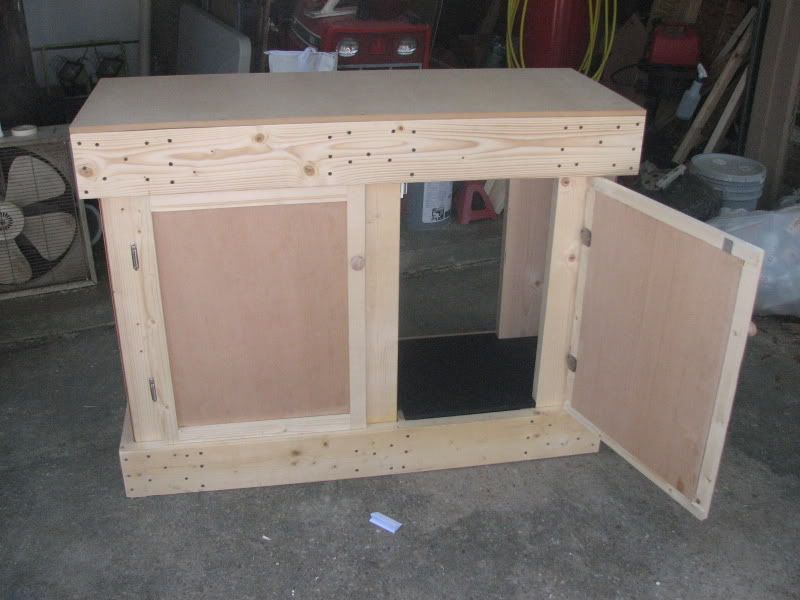
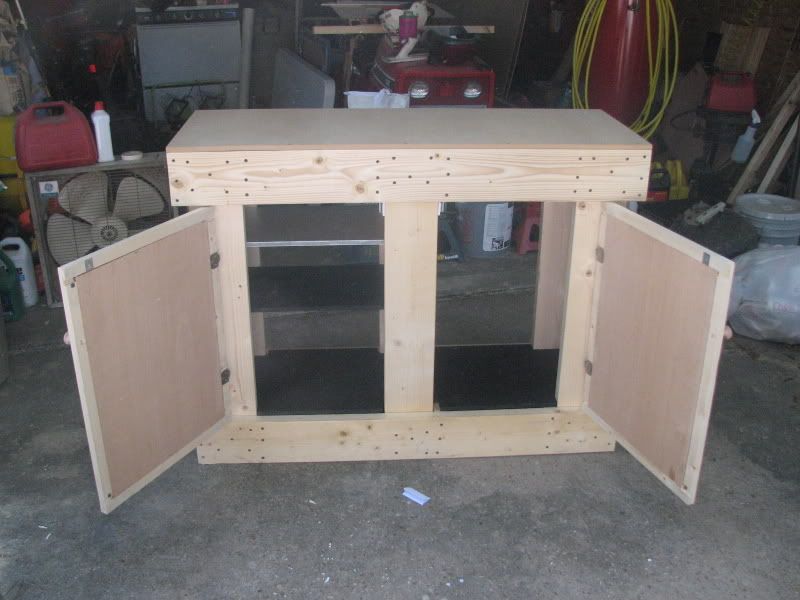
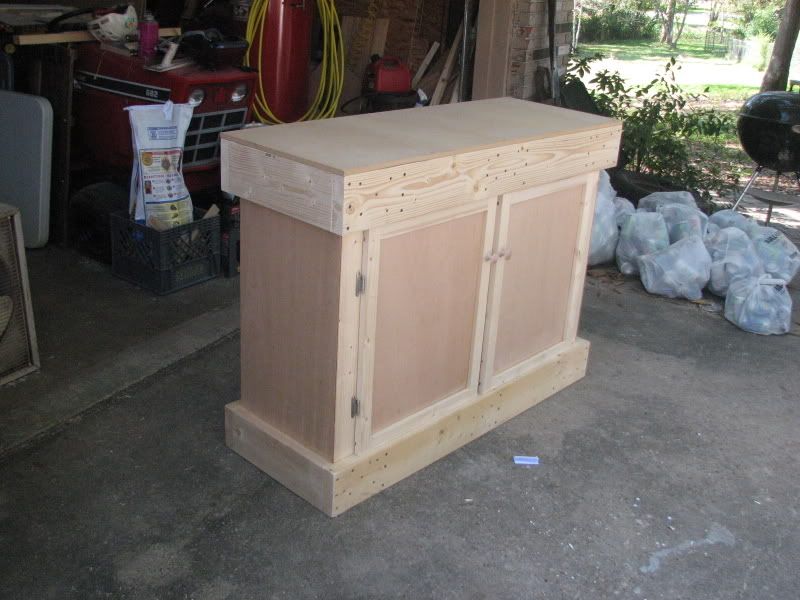
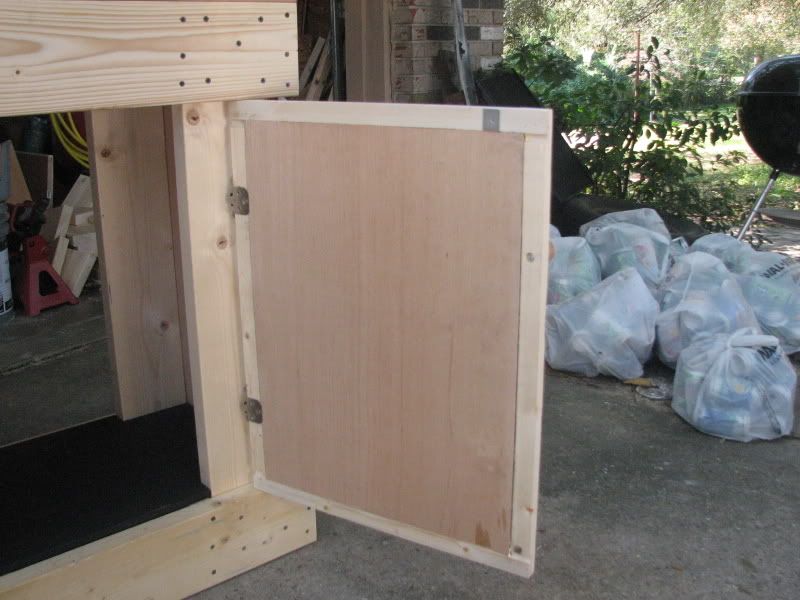
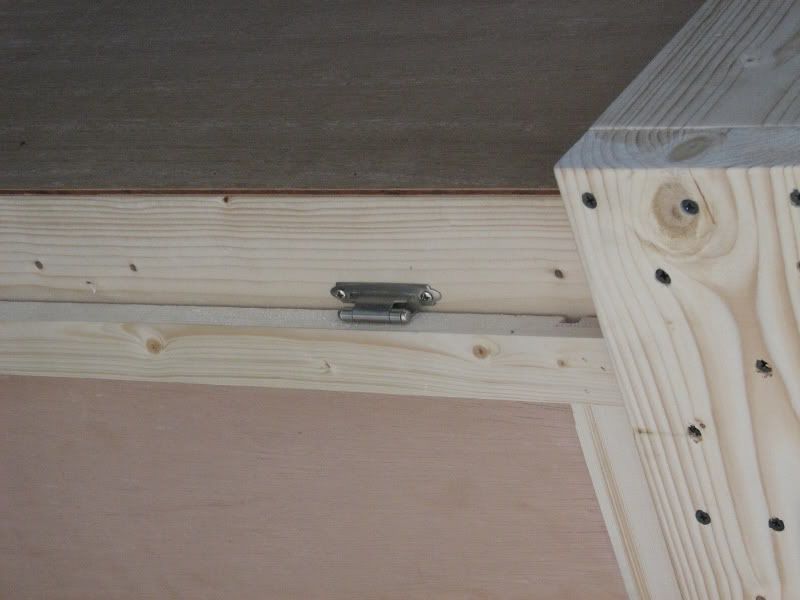
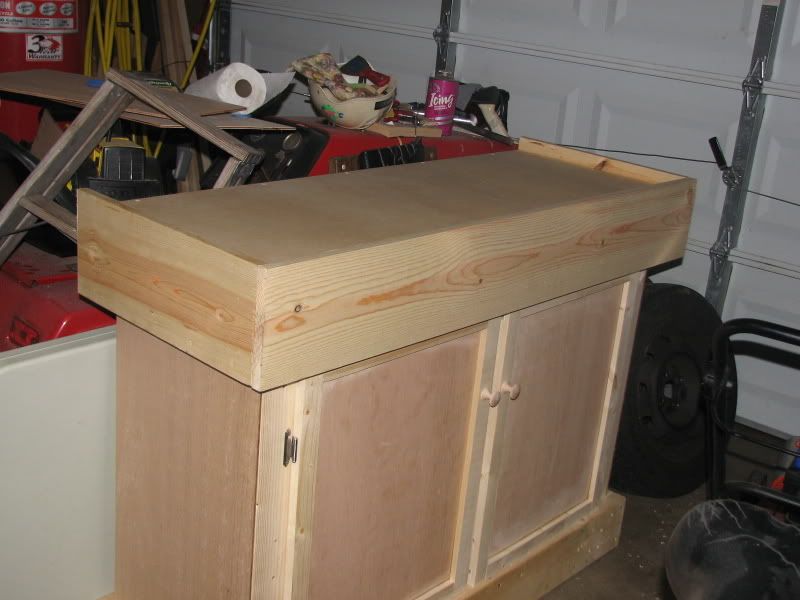
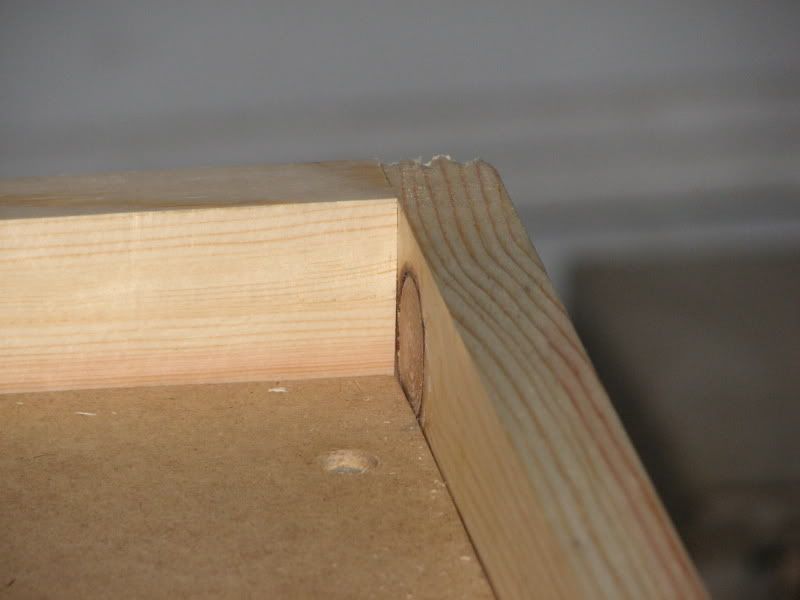
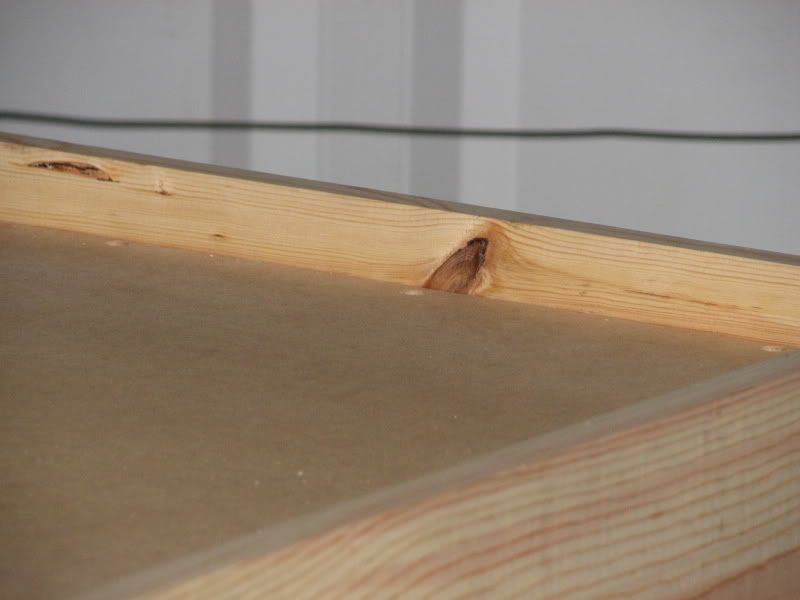
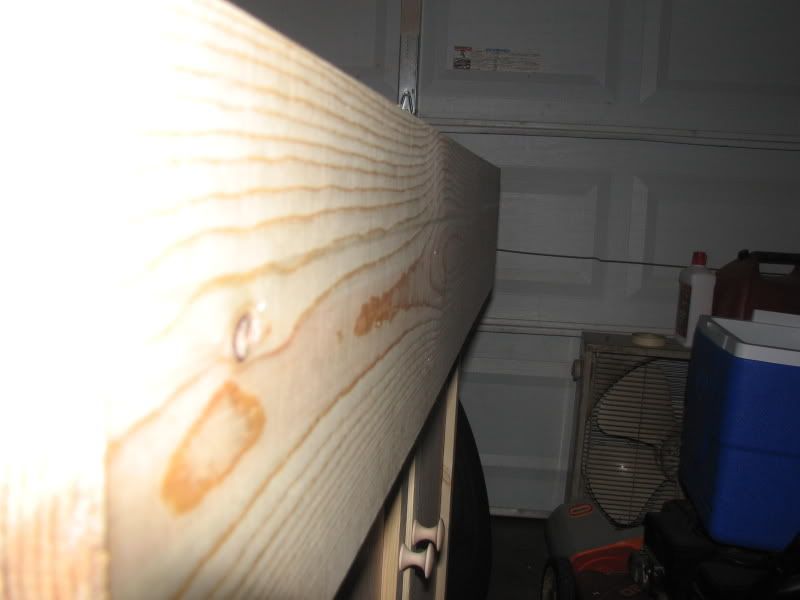
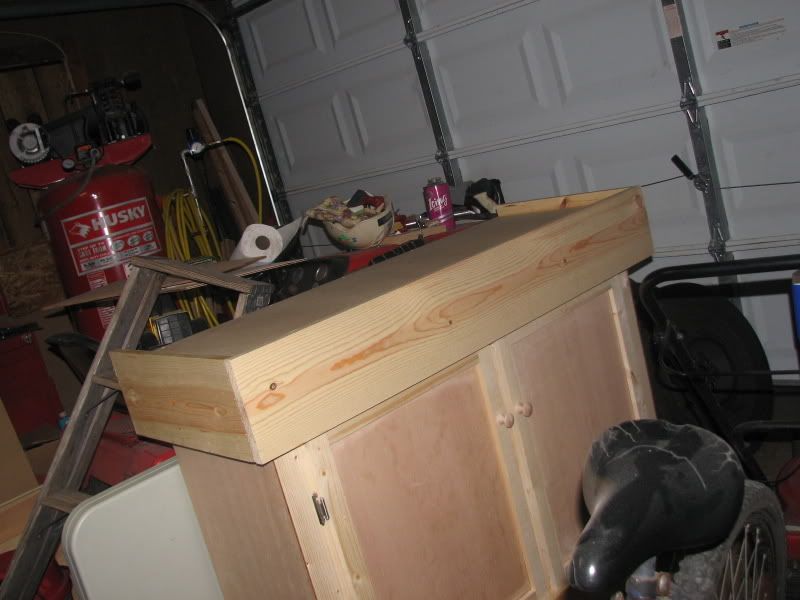
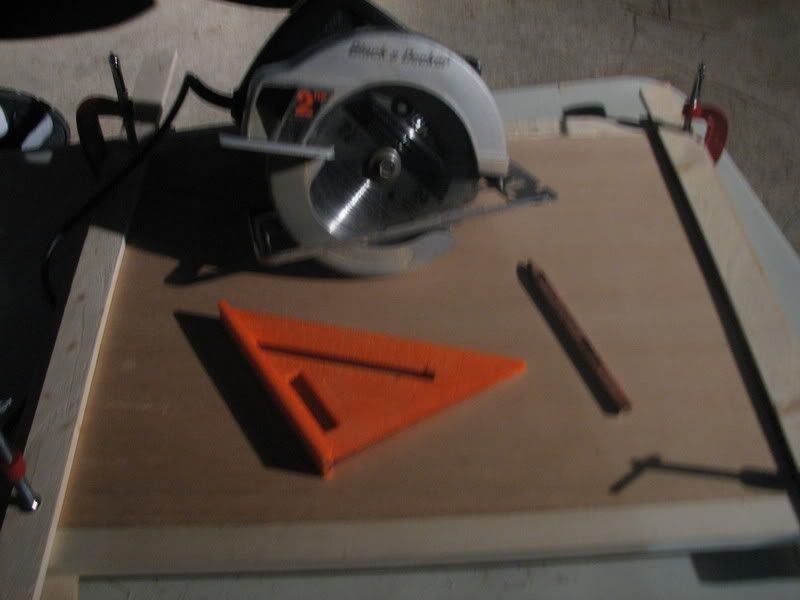
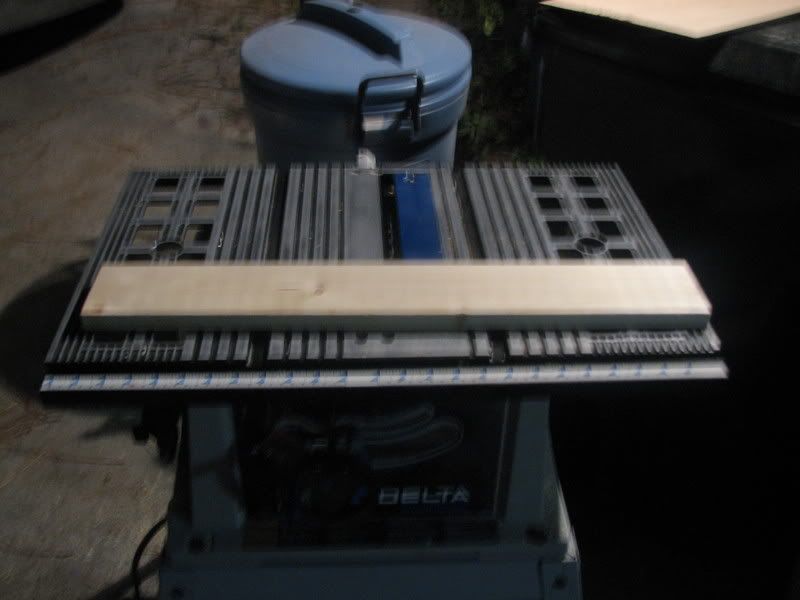
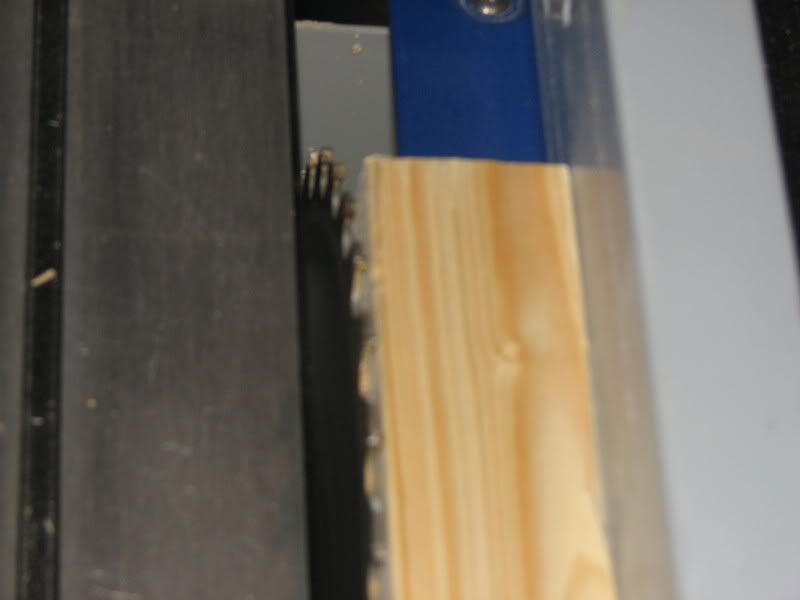
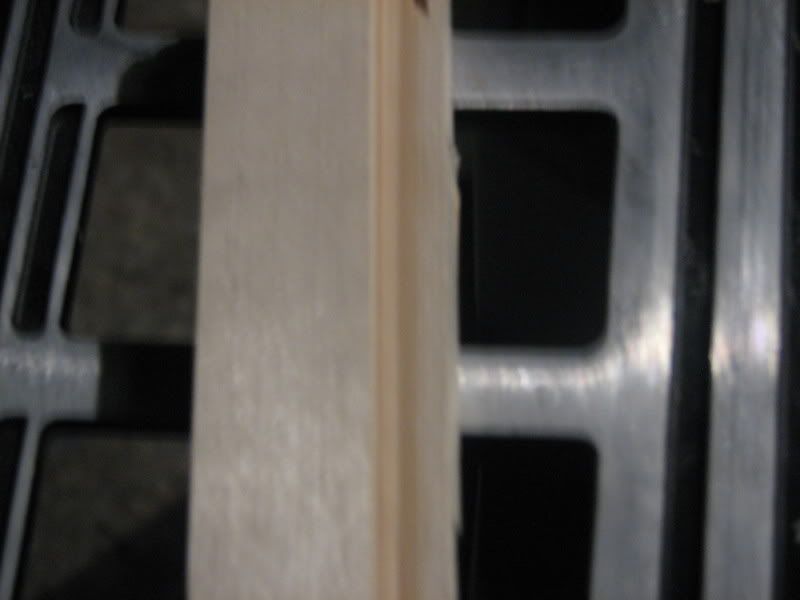
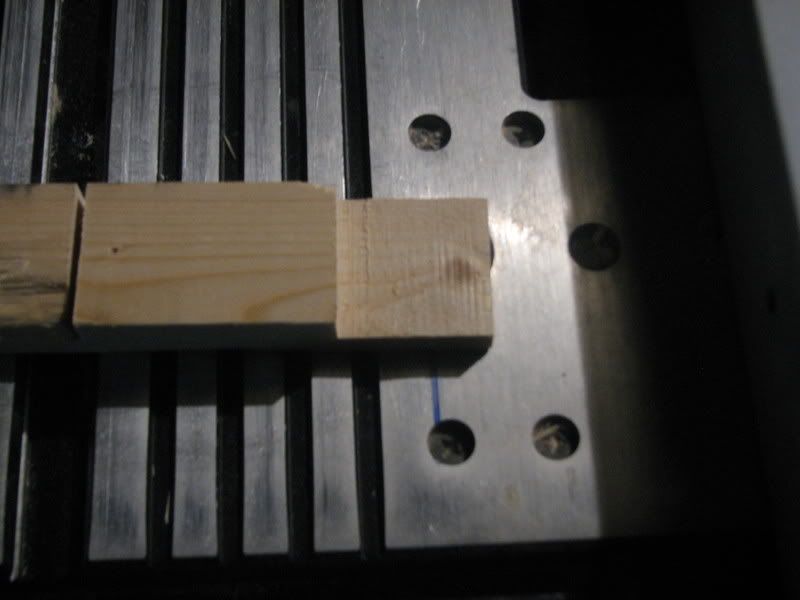
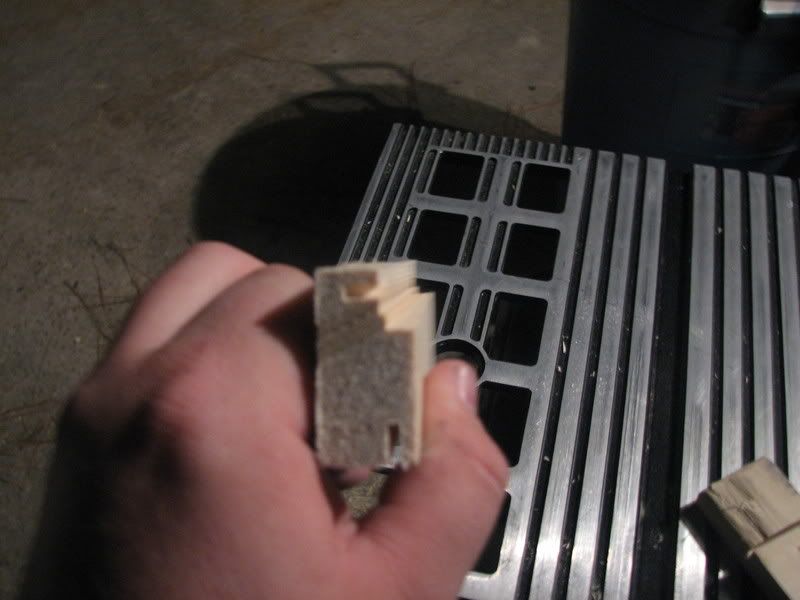
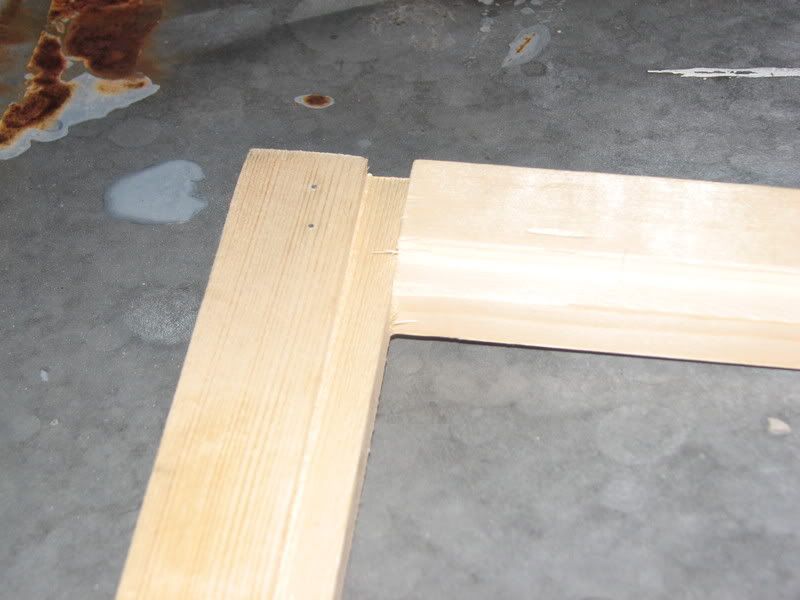
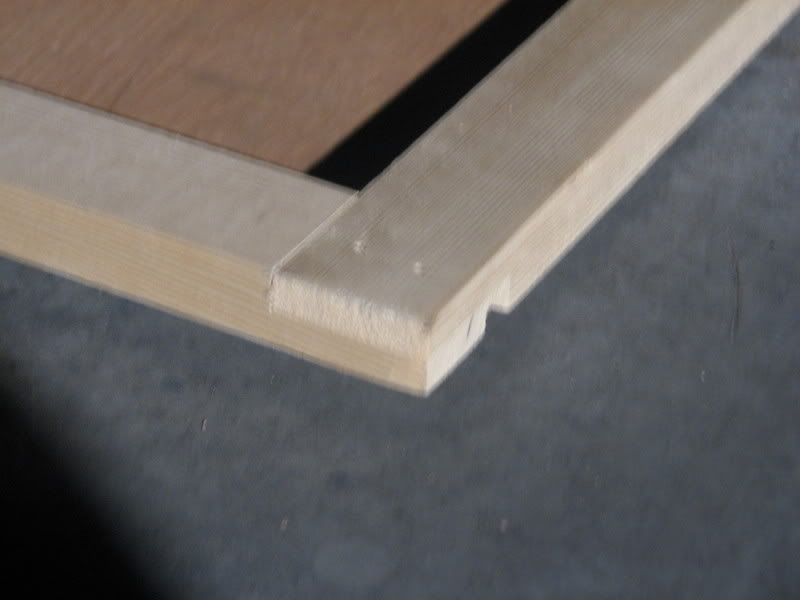
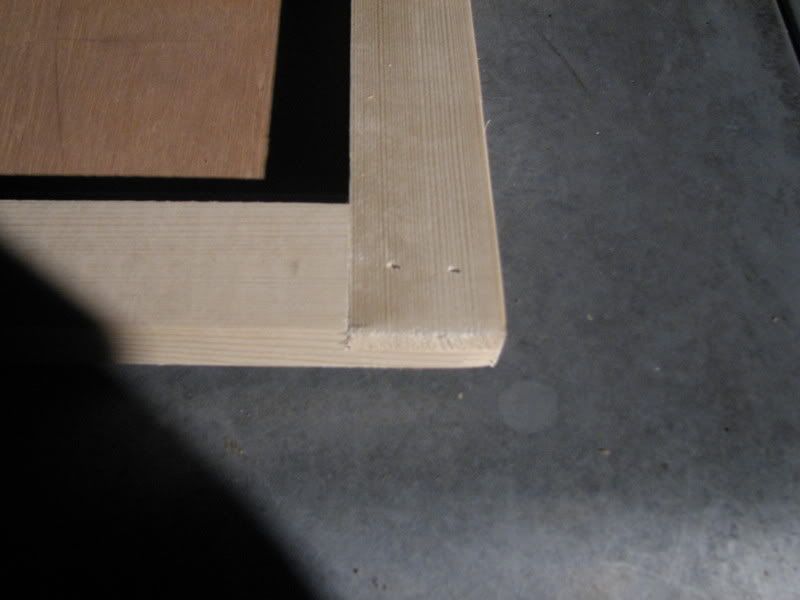
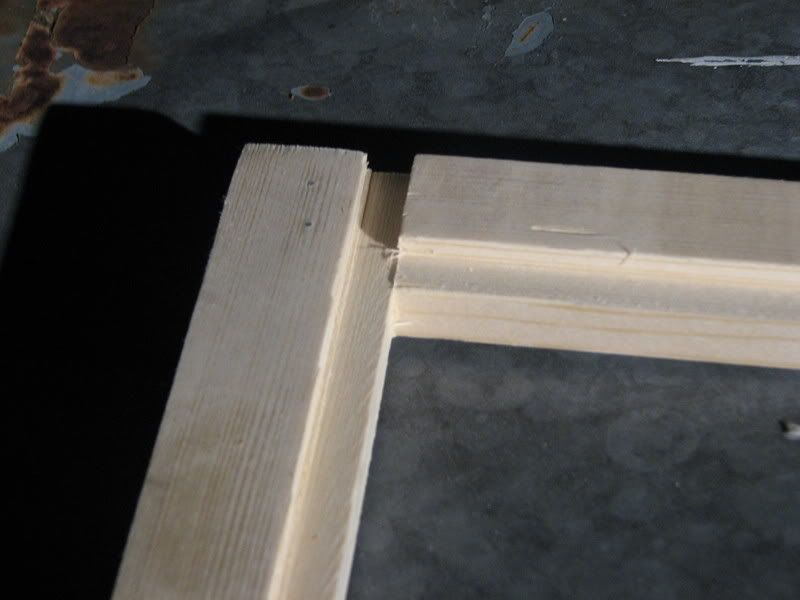
I made the Doors. I took a 1X4 and cut it to legnth then riped it into 1X2. Cut a rabbit so the back would fit flush. Cut the Ends to make a nice fit and Here you go. Attach with a couple of brads. I need to buy Shorter brad to attch the back to the frame. But first I will glue them in place. I also took Photos of the tools that I have used to build the Stand with. Tomorrow I will add the knobs and the hindges. mount them to the stand and hopefully move it inside. If I have time I buy the tank so I can start on the Canopy.


There is more.
 

Mahamotorworks

Superstar Fish
Aug 26, 2006
1,722
6
0
Thule, Greenland
www.myspace.com
#43
4 Nov Update.

Stand Is all done except the 1X8 trim the goes on the top. I will be buying the Tank next saturday. I now have a week to Rearrange the room so I wil be in ist place waiting for the Tank. Here are the Photos.


The only thing I had to buy today was Cabinet hinges. The utility ones that I thought I would need wouldn't work. After I get the Tank I will add the 1X8 trim and then it is time for DIY Canopy.

MAHA
 

Mahamotorworks

Superstar Fish
Aug 26, 2006
1,722
6
0
Thule, Greenland
www.myspace.com
#46
I will but shipping would cost too much. I dont have any road trips planned to out west.

I was looking at Petsmart tonight and the stands for a 75 Gal run $ 150 or more, the one that I liked was $200. For that I have build the stand, a Bunk bed and the canopy including lights. So I am happy. I will be gettin ghte tank next saturday. Then I will start on DIY Canopy. Stay tuned.

MAHA
 

Last edited:

Mahamotorworks

Superstar Fish
Aug 26, 2006
1,722
6
0
Thule, Greenland
www.myspace.com
#48
The wood is 2X6 pine it is designed for framing houses. The middle of the Doors is just 1/4 in plywood. The top which will noe be seen and the shelfs that are painted are MDF (medium Density Fiberboard) Strong but heavy. I am really happy with the way it turned out. I addes the 1X8 trim late last night. I'll post pics when I have the tank on top. I found out that I have friday off due to the holiday on sat. I will picking up the tank then. Next fourm is DIY Canopy Stay tuned.

MAHA
 

usacutie81

Large Fish
Sep 6, 2006
739
0
16
St Louis
#53
ahhh it is beautiful. And I was gonna ask the same thing, are you gonna paint it? Or stain it? You might want to put some sort of lacquer on it if not to keep it from getting water damage.

I wish I had your skill. I love it. Good job.
 

WetChicken

Small Fish
Jan 5, 2007
39
0
0
Concord, N.H.
#55
usacutie81 said:
K soooo. Table saw is good for....? and Miter saw would be good for....? and then a circular saw would be best for....?

I'm so glad I know people who know tools.
[hijack]Everyone forgot to mention a radial arm saw. Can do everything that a table saw, circular saw, and a miter saw can do. It is a little limited on the table saw, mine probably can only rip 24" or so. None the less, it is very versatile. [/hijack]

Nice stand. What do you think about laminating two or even three 2x6's together for each side and eliminating the center support?
 

tom91970

Superstar Fish
Jan 2, 2007
1,305
5
38
Tejas
www.myspace.com
#56
That's a nice looking stand. I looked all over the 'net several weeks ago for some DIY plans and couldn't find anything decent. Anyway, one of the search results led me to this site and I was quite impressed with your stand.

I'd like to scale down the size and build one for either a 20 or 29 gallon tank...depending on what I buy next.
 

Jan 27, 2007
43
0
0
#58
awesome stand. I really wanted to do that......but couldnt pass up the deal i got on my 75 tank and stand.

Now my project is to sand it down and stain it.... I've stained 1 door so far....but its too cold out to let it dry outside.......i'm on my second coat...and still not dark enough
 

WetChicken

Small Fish
Jan 5, 2007
39
0
0
Concord, N.H.
#59
Obviously read the directions on the can, but I have learned that most staining is put on with a rag, left to soak for a short time, and then with a clean rag wiping off a section to see how dark it is. If it is a good tone, wipe the rest. If not, slosh some back into the corner and let it sit for a little longer.
This should allow you to do it in one step.